Using Auth0 as your Single Sign-On provider? That’s great! What’s even better is that you can now integrate it with LiveChat, which will not only enable the SSO as the login method for your agents but it will also boost your app’s security in the process!
With the following tutorial, you will learn:
- What Auth0 endpoints and certificates will you need to enable SSO at your LiveChat license and how to find them?
- How to configure SAML 2.0 protocol in your Auth0 dashboard?
- How to enable the Single Sign-On in your LiveChat’s Settings?
Endpoints and certificates required to enable SSO at LiveChat and how to find them
To integrate your custom SSO solution with LiveChat, you will need two things:
- Signing Certificate (X.509 certificate);
- SAML Protocol URL.
Both the certificate and the SAML Protocol URL will allow us to communicate with your custom SSO provider and confirm the identity of your LiveChat agents. So, the biggest question, for now, is how to find them?
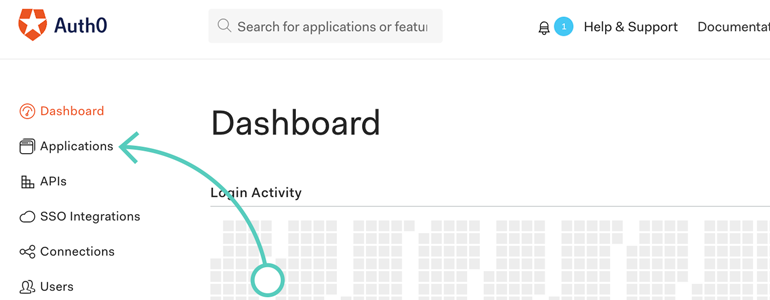
- First, log into your Auth0 dashboard and proceed to the Applications section.
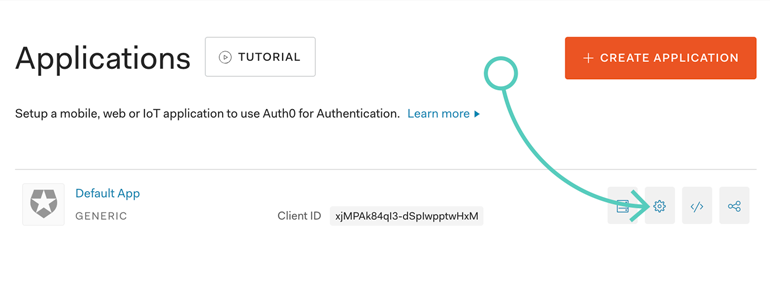
- Now, go to the Settings of your default application (or, if you don’t have one, create a new app!).
- In the Settings section, Auth0 allows you to set up things like the name of your SSO app, its description or even its logo.
https://www.livechat.com/wp-content/themes/livechat2.0/media/img/press/lc-logos/logo-livechat.png
https://www.livechat.com/wp-content/themes/livechat2.0/media/img/press/lc-logos/logo-livechat.png
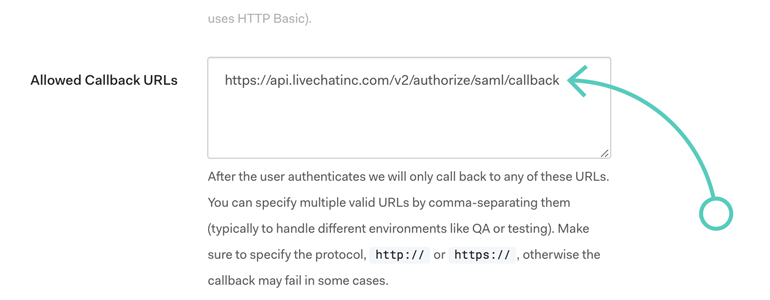
- After setting up the descriptive aspects of your app, let’s scroll down a bit until you reach the option called Allowed Callback URLs. Once there, copy the following URL address:
https://api.livechatinc.com/v2/authorize/saml/callback
and paste it as the URL that your SSO app will be allowed to communicate with.
- Now we have a little bit more scrolling ahead. At the bottom of your app’s settings, click on Show advanced settings.
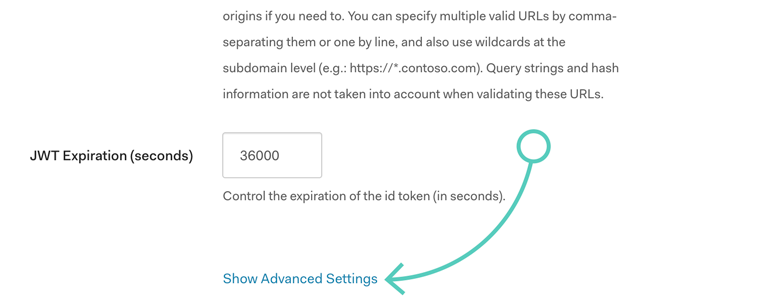
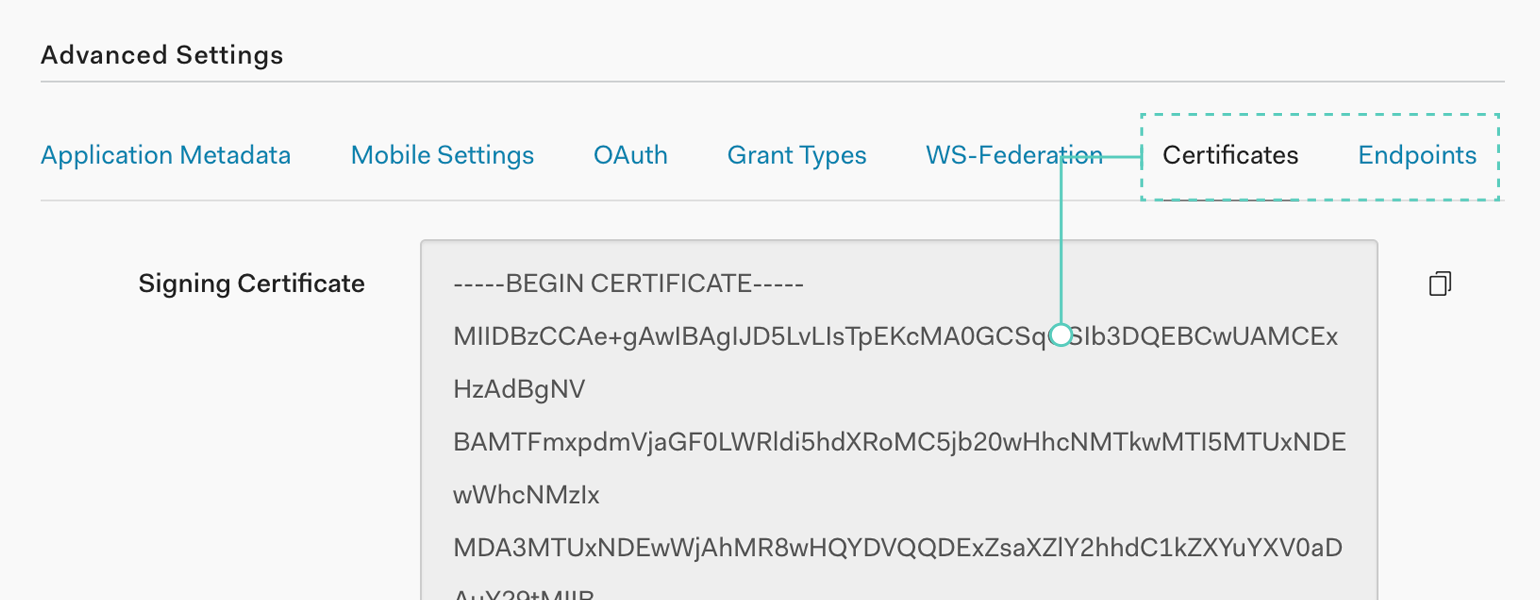
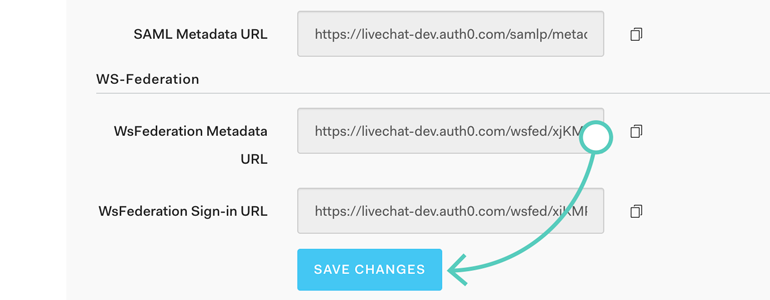
- To proceed, you will need two things taken straight from this section: the Signing Certificate (X.509 certificate) and the SAML Protocol URL mentioned a while ago. You can get them from the Certificates and Endpoints sections of Advanced Settings.
- To continue, Save Changes to your app.
OK, so now that you’ve got your Signing Certificate and SAML Protocol URL ready, it is time to configure the SAML 2.0 protocol itself. But don’t close the configuration of your SSO App yet!
Configuring the SAML 2.0 protocol
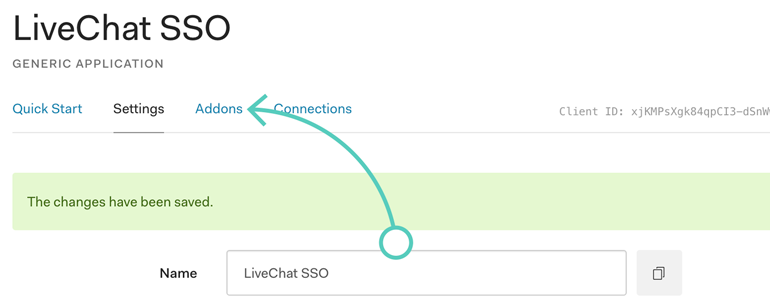
- While still in your SSO App’s Settings, go to the Addons section.
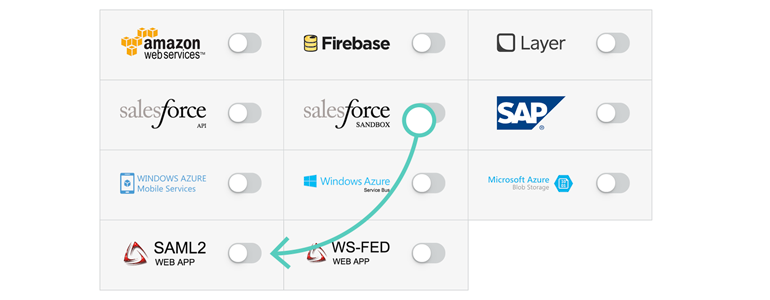
- From the list of available Addons, enable SAML2 WEB APP.
- Now we’ve reached the part that may seem difficult and over-complicated. But just as mentioned before, fear not! Simply copy the pre-made SAML 2.0 configuration from below:
{
  "mappings": {
    "email": "http://schemas.xmlsoap.org/ws/2005/05/identity/claims/emailaddress"
  },
  "nameIdentifierFormat": "urn:oasis:names:tc:SAML:2.0:nameid-format:email",
  "nameIdentifierProbes": [
    "http://schemas.xmlsoap.org/ws/2005/05/identity/claims/emailaddress"
  ]
}
and paste it right into the configuration’s code area:
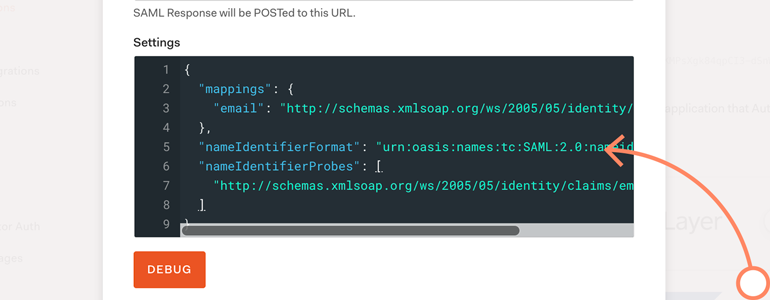
- And that’s it! After providing the configuration, all that is left at the Auth0’s side is to Save changes made to your SAML2 WEB APP addon.
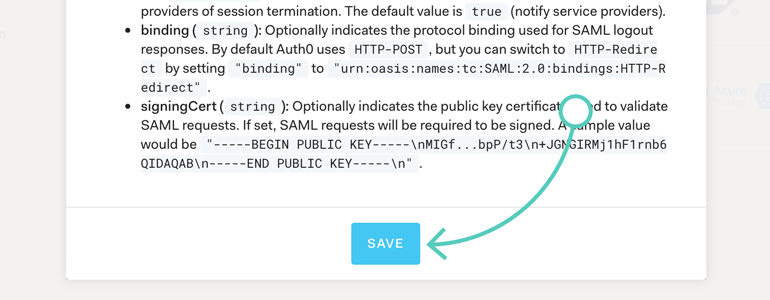
Now we can proceed with applying all of that configuration to your LiveChat account.
Enabling the SAML configuration in your LiveChat
- We like to make things dead easy, so now that you have everything ready, the steps that are ahead of us can be compared to a walk in the park. Let’s start with going to the Settings of your LiveChat app. While there, proceed to Security section.
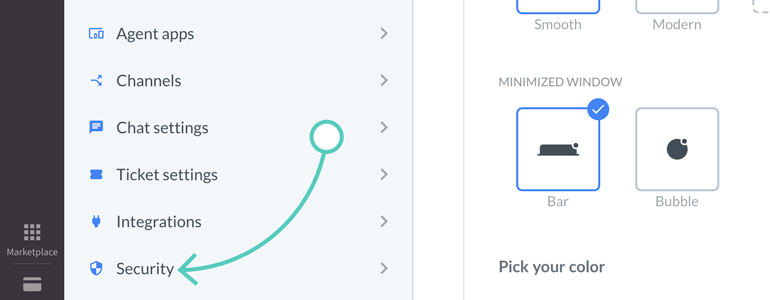
- From the list of available options, choose Agent authentication.
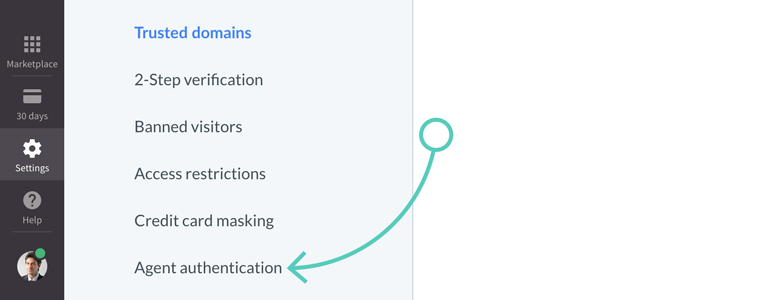
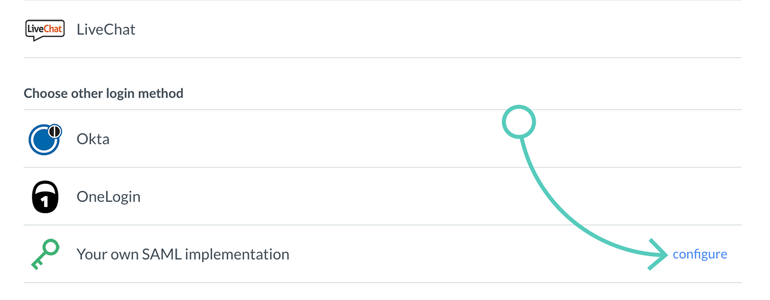
- We are trying to integrate LiveChat with your own SSO solution, so configuring the Your own SAML implementation is the way to go. 😎
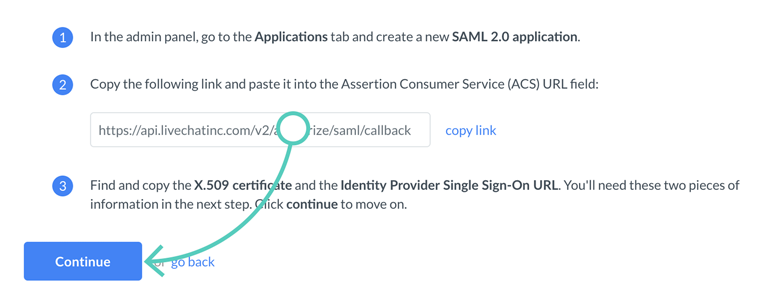
- As we have configured the SAML WEB APP before, skip this step by clicking on Continue…
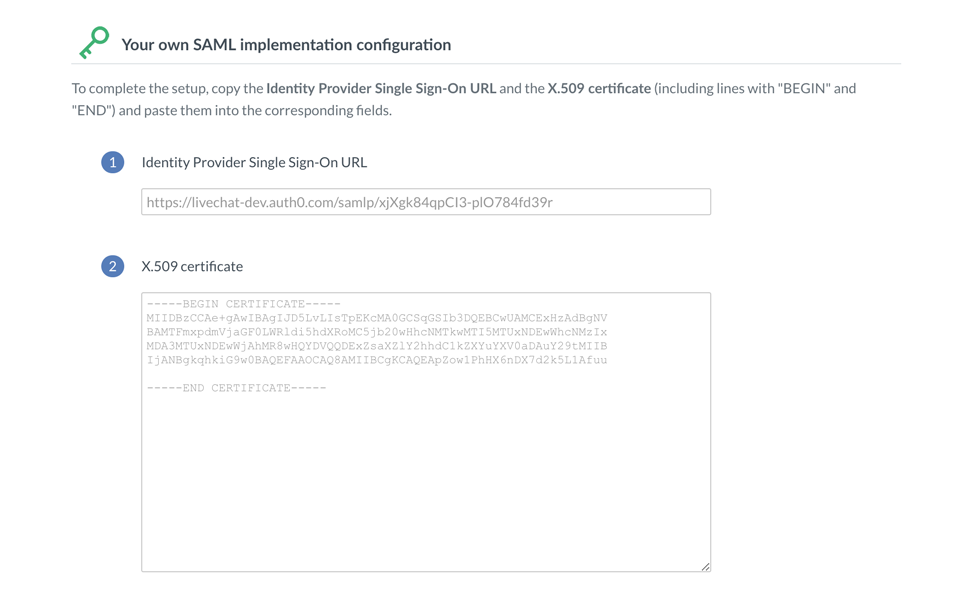
- … and proceed to the next section, where you can paste the SAML Protocol URL (Identity Provider Single Sign-On URL) and Signing Certificate (X.509 certificate) that you’ve gathered before.
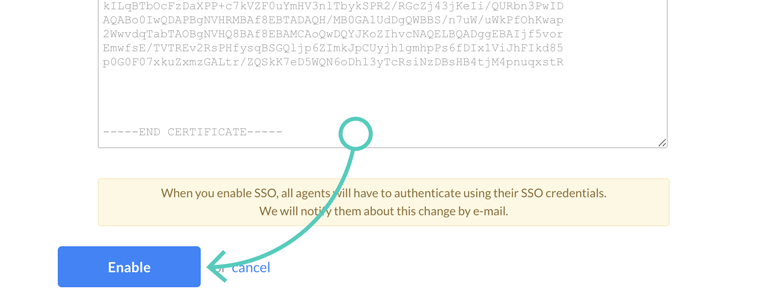
- We are almost here! Now that absolutely everything is in place, there’s just one more thing for you to do: save changes by clicking on the Enable button!
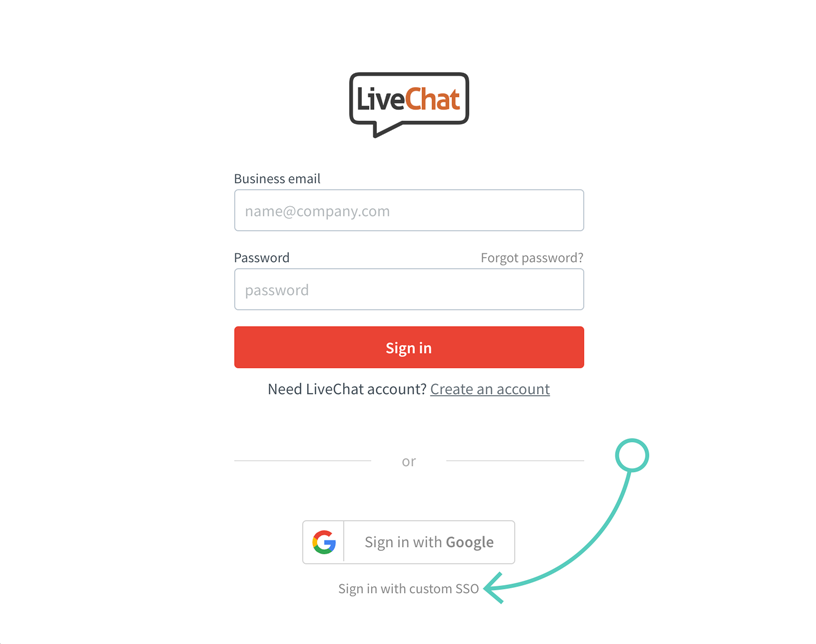
And that’s it! Your SAML implementation has been configured properly, and your agents can start using the Sign in with custom SSO as their login method.
Don’t forget to check out our other articles! And, if you need any additional information on this topic, don’t hesitate to start a chat with us - we are available 24/7/365!