What’s SSO anyways?
Nowadays, almost every website, service or app requires a login and password to gain access. With so many passwords to remember things can get confusing. People often forget passwords so they tend to write them down, use simple ones or reuse the same for many systems. That’s a security risk you don’t want in an enterprise environment.
With Single Sign-on, or SSO for short, agents have a single login across all apps your team is using. It makes life easier and more secure for everyone and reduces the administrative overhead.
List of native SSO providers that LiveChat integrates with
Our Single Sign-On solution allows you to not only integrate LiveChat with your custom SAML 2.0 solution, but also use one of the native SSO integrations available out of the box. Here’s the list of available SSO providers that you can find in the Agents authentication section of your LiveChat:
- Okta
- OneLogin
In addition to that, we have prepared two additional SSO integrations that are currently not listed in LiveChat’s User Interface, but are available through custom SSO implementation:
- Auth0
- Azure Active Directory
For Auth0 SAML 2.0 application, we’ve prepared a dedicated tutorial that will guide you through the integration process – to check it out, click here.
First, configure your Identity Provider
LiveChat supports SSO via SAML 2.0 standard. We have dedicated tutorials for Okta and OneLogin, but it’s also possible to integrate with other providers for as long as they support SAML 2.0.
To enable SSO authentication, you need to set a connection between LiveChat and your Identity Provider. Start by getting the following from your Identity Provider:
- Your SAML Single Sign-On URL (also called a login URL).
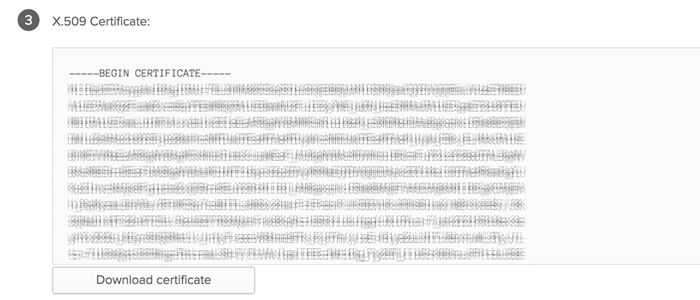
- An X.509 certificate which looks something like this (this one’s encrypted):

Note: Most Identity Providers use the same parameters, only names might be slightly different.
How to enable SSO in your LiveChat?
After you obtain the above information from your Identity Provider, copy them and log in to your LiveChat admin panel.
- Go to Setting > Security > Agents authentication (located at the bottom of the side menu.
- Select the Identity Provider you’re using in your company or choose to configure your own SAML implementation.
- You’ll get a screen with instructions. Follow the steps to find the two pieces of information needed for further setup - the SAML Single Sign-On URL and the X.509 certificate.
- Click Continue to configure SSO in LiveChat.
- In the first step, enter the SAML Single Sign-On URL you got earlier from your Identity Provider.

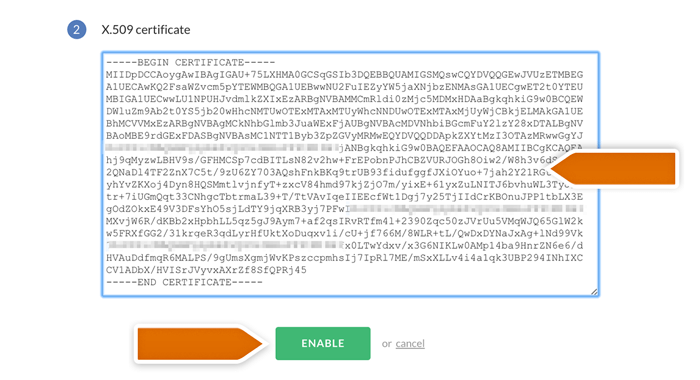
- In the next step, paste the X.509 certificate (including lines with “BEGIN” and “END”).

- If you use Azzure SSO, you need to fill in the Issuer field. To get your Issuer, go to the Properties section in your SAML-based app and copy data from the Application ID field.

- Click Enable to finish.
Well done, you’ve just enabled SSO for your team. OK, so what’s next?
How will my agents know that SSO has been enabled?
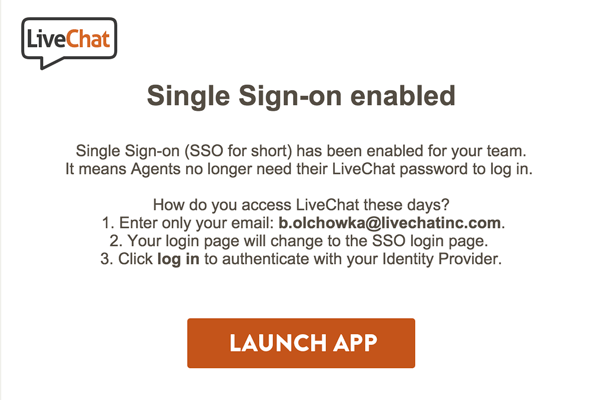
After you enable SSO, your agents won’t be able to login using their LiveChat password. Instead, they’ll have to authenticate with their SSO credentials. We will automatically notify all agents about this change by email. Here’s what the email template will look like:

Accessing LiveChat
Once SSO is enabled, agents log in to LiveChat by entering just their email address. It redirects them to the Identity Provider’s sign-in URL, where they need to enter their SSO credentials.
Here’s how agents log in to LiveChat when SSO is enabled:
- On the LiveChat sign on page, provide your login but leave the password blank.
- Click Log in and you’ll be redirected to the SSO login page.
- Provide your SSO password to authenticate and log in to LiveChat. If you’re already authenticated, you’ll be logged in to automatically.
Some frequently asked questions about SSO
- How to add new agents to LiveChat when SSO is enabled?
When SSO is your chosen login method and you want to add a new agent, you’ll first need to make sure they’re registered with your Identity Provider. Otherwise, they won’t be able to authenticate and access LiveChat.
- How does SSO work with 2-step verification?
When you enable SSO, your Identity Provider handles all aspects of authentication for your agents. It means that whatever other security features you might be using, like two-step verification or logging in with Google, will no longer be supported.
- How to reset password with SSO enabled?
When you enable SSO, authentication is done outside LiveChat. It means that agent’s passwords won’t be stored in LiveChat but in your trusted SSO provider instead. Thus, the ability to reset the password with LiveChat will also be disabled. In case any of your agents forgets their password, they’ll need to reset it via your trusted Identity Provider.