Trusted domains
Since all Internet browsers let users view your site’s source code, it means that anyone can lay their eyes on your LiveChat code. Some spammers may even want to copy it and paste to another site just to flood your chat with bad traffic, spam your agents with irrelevant questions and clog your customers list.
The good news is that you can protect your LiveChat code from being added to unauthorized sites by creating a list of trusted domains.
Using trusted domains, you can create a list of domains which you know and trust. Only those domains will be allowed to implement your chat. If someone tries to add your chat to any website outside your trusted list, it simply won’t work there.
How to trust a domain
This security feature is available in all LiveChat plans. As an admin, you can create a list of trusted domains at any time. When you first create the list, you will be asked to specify domains allowed to use your tracking code. Your chat will only work when loaded on one of these trusted domains.
The setup takes just a few minutes. When you first use this feature, the setup wizard will guide you step-by-step through the process of setting up your trusted domains.
- Go to Settings → Security → Trusted domains and click on Add Trusted Domains.
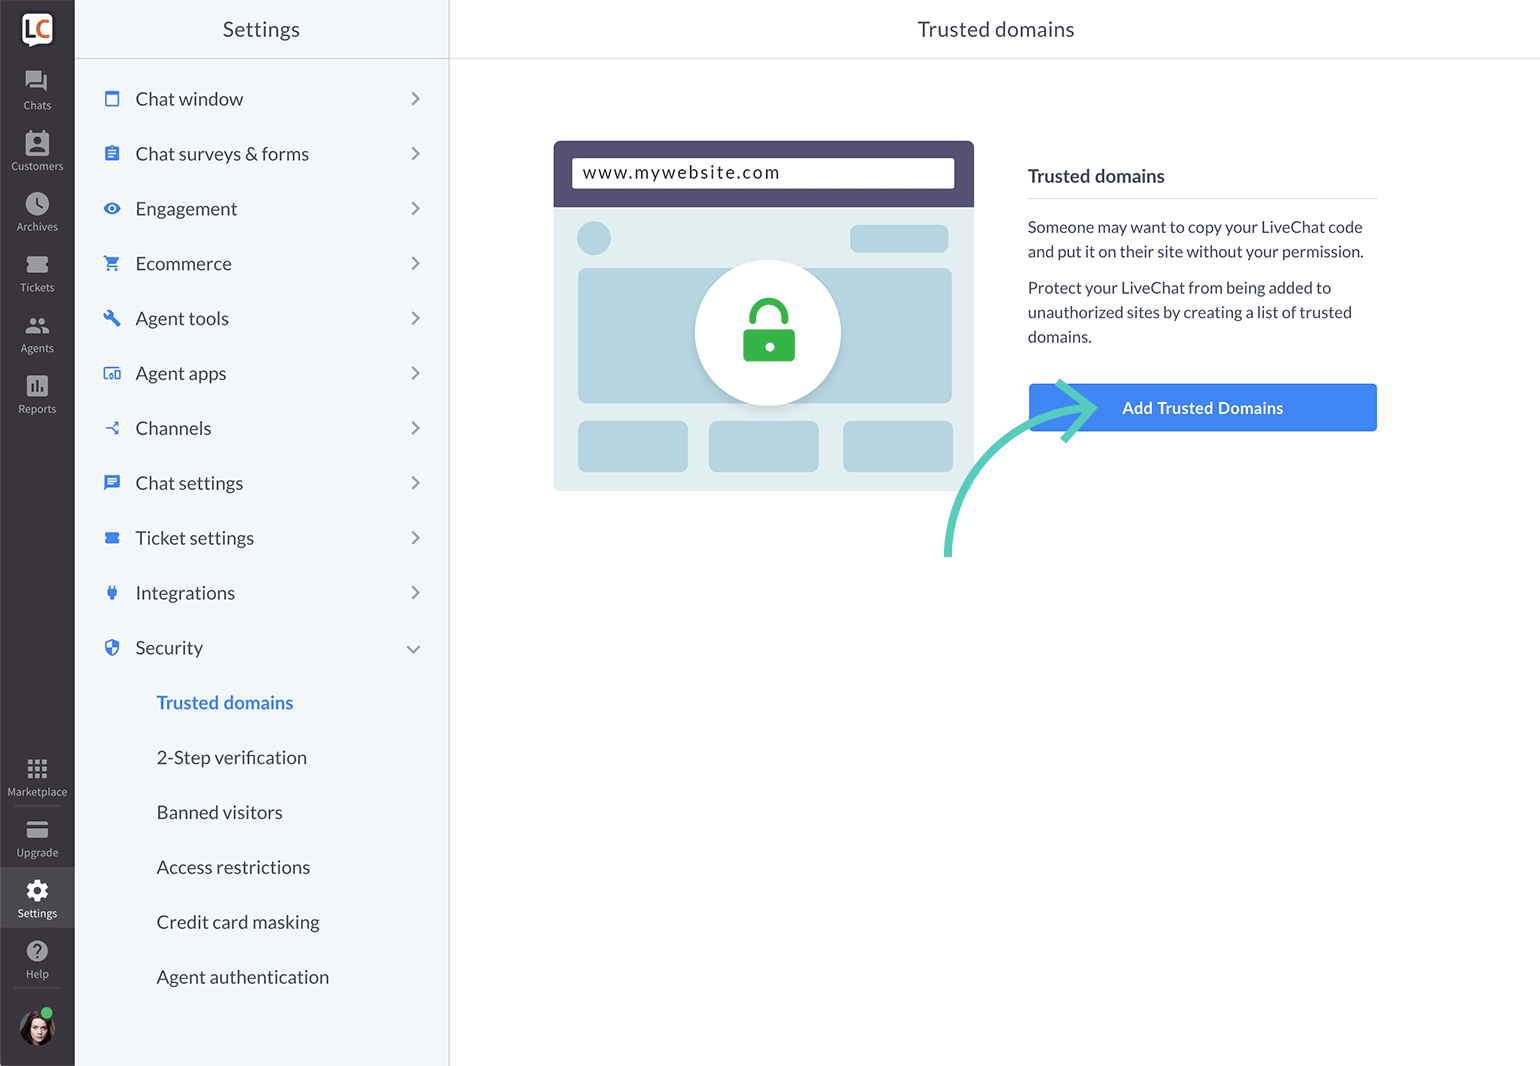
- In this step, you can see all domains where your LiveChat code has been added. Select ones that you want to add to the trusted domain list. If you haven’t installed your LiveChat code on any domain yet, you won’t see this view (go to step 4 in this tutorial).
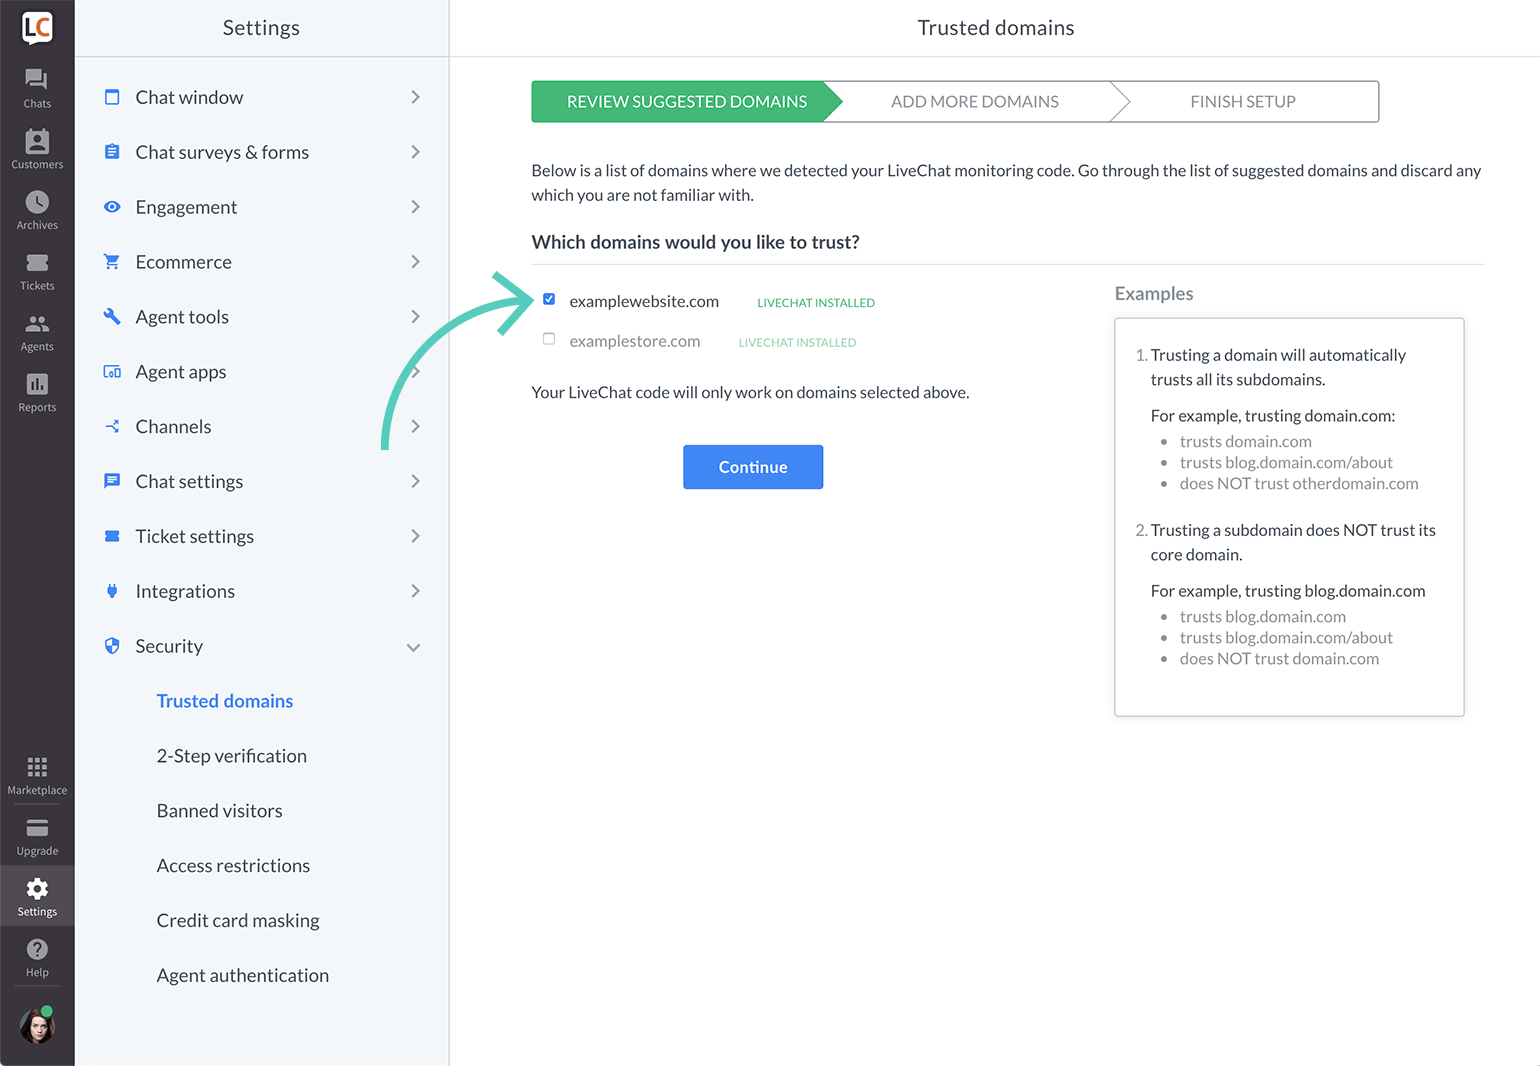
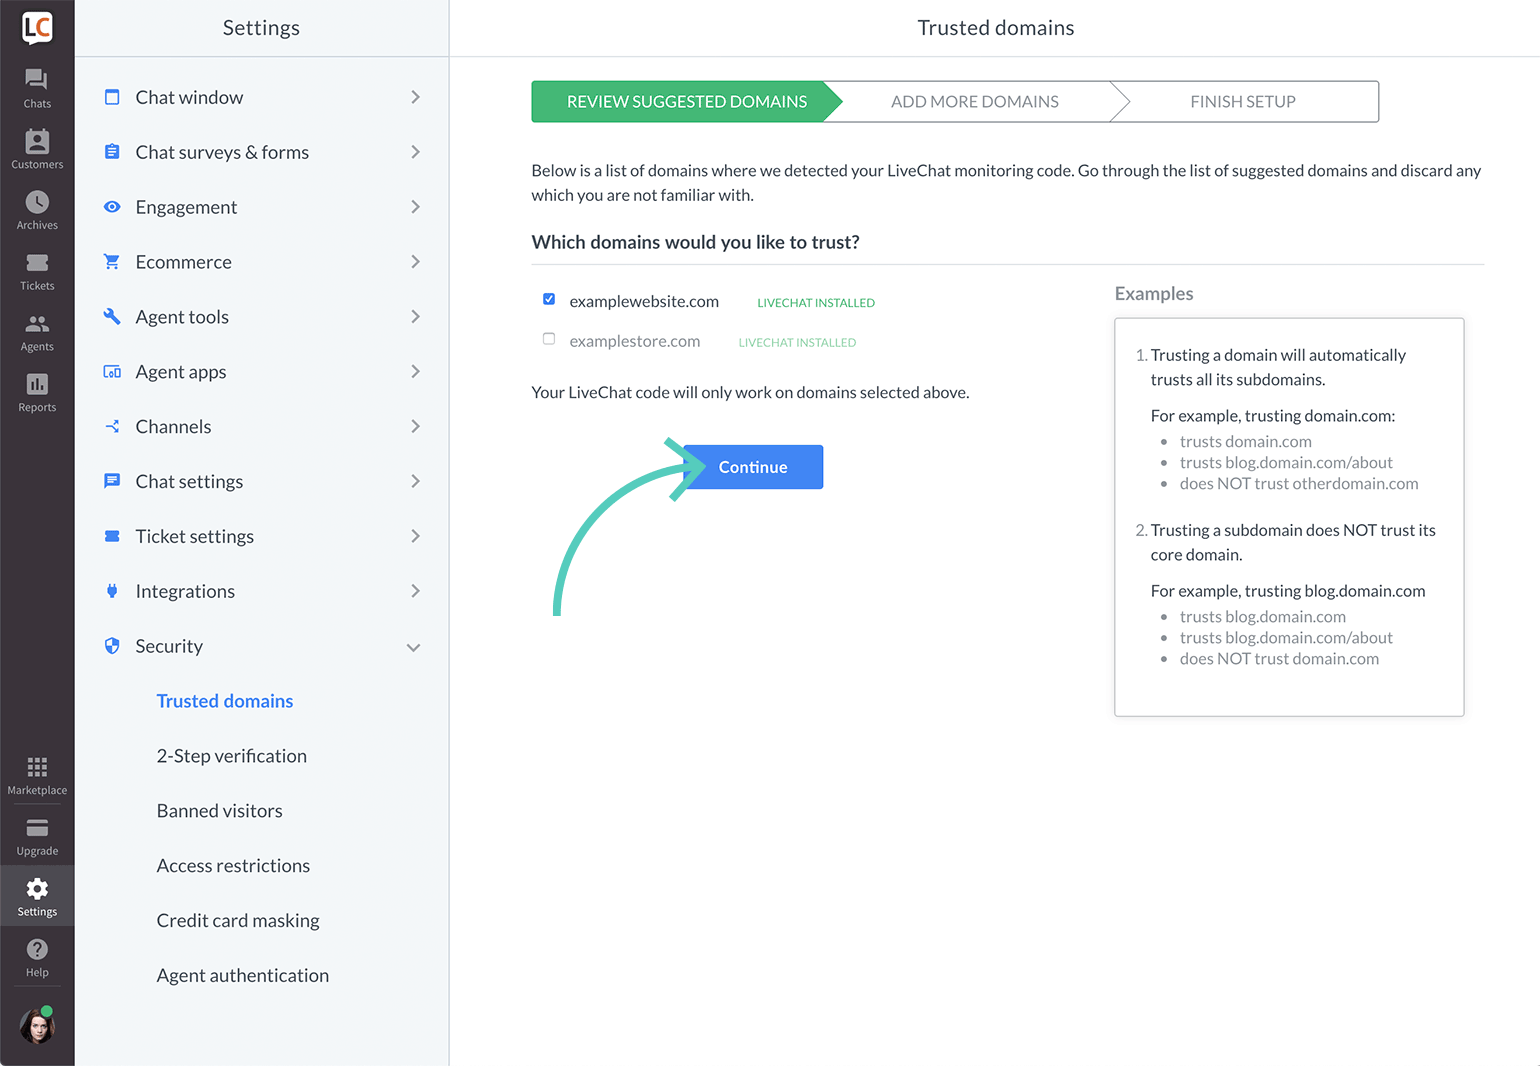
- Click on Continue to move to the next step.
- In this step you can add other domains, where you haven’t installed LiveChat yet. In order to do it, enter the name of the domain in the box. You can skip this step by clicking on Continue.
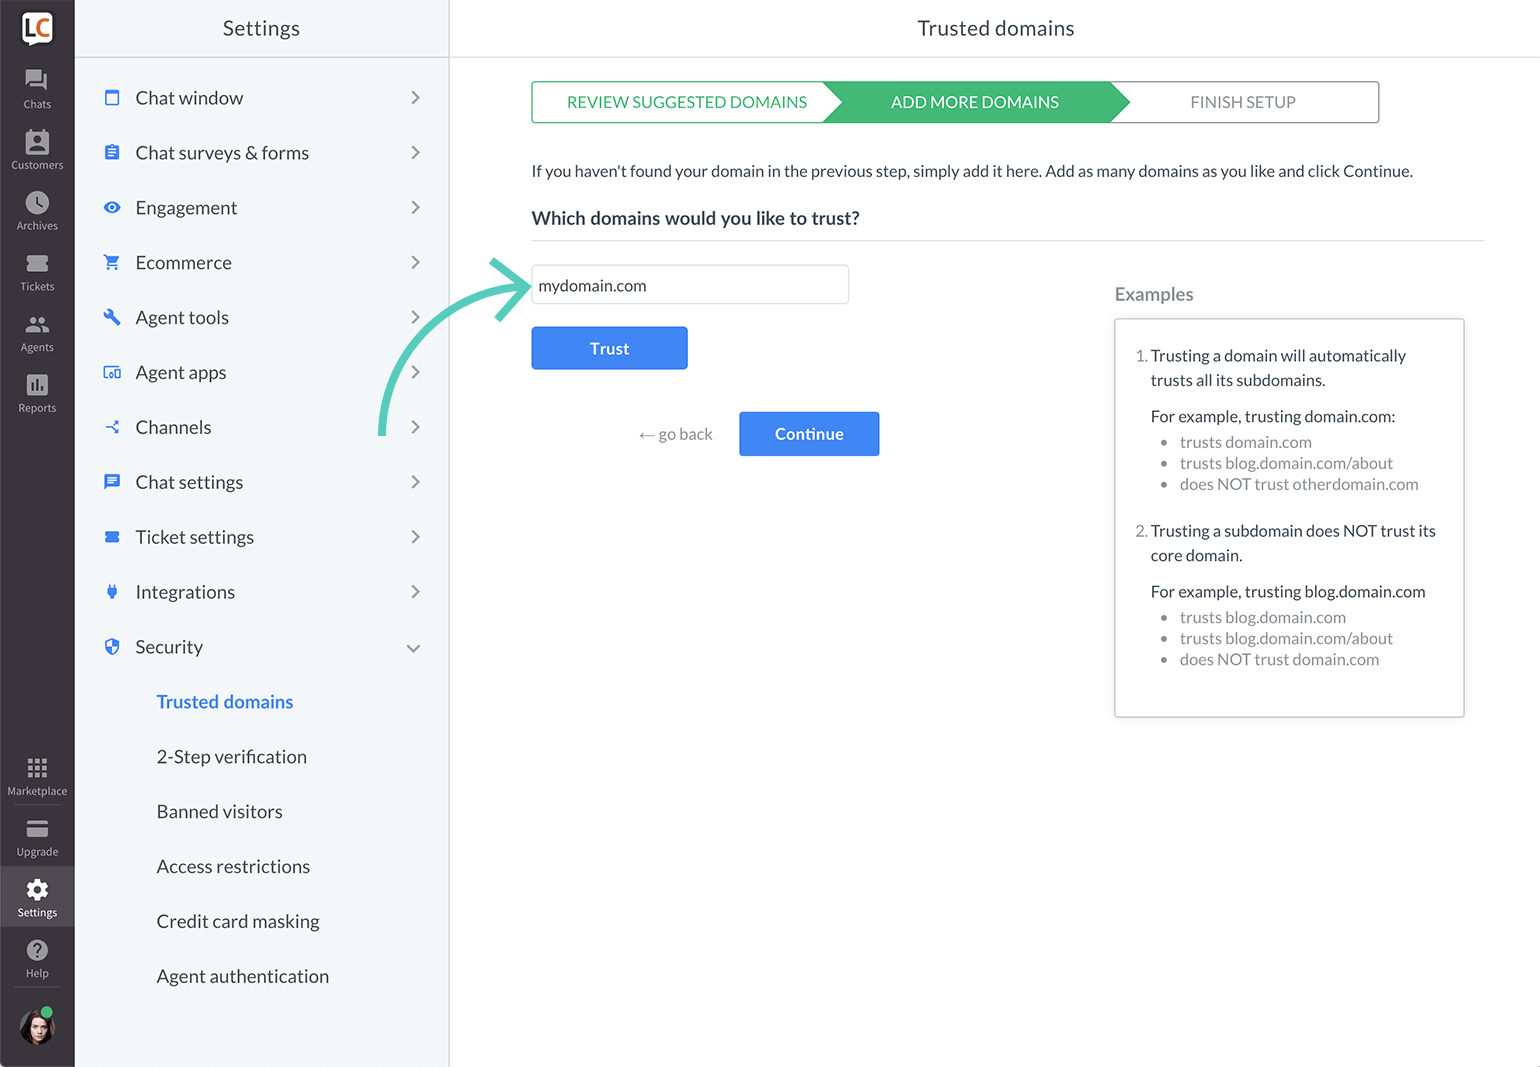
- Click on Trust.
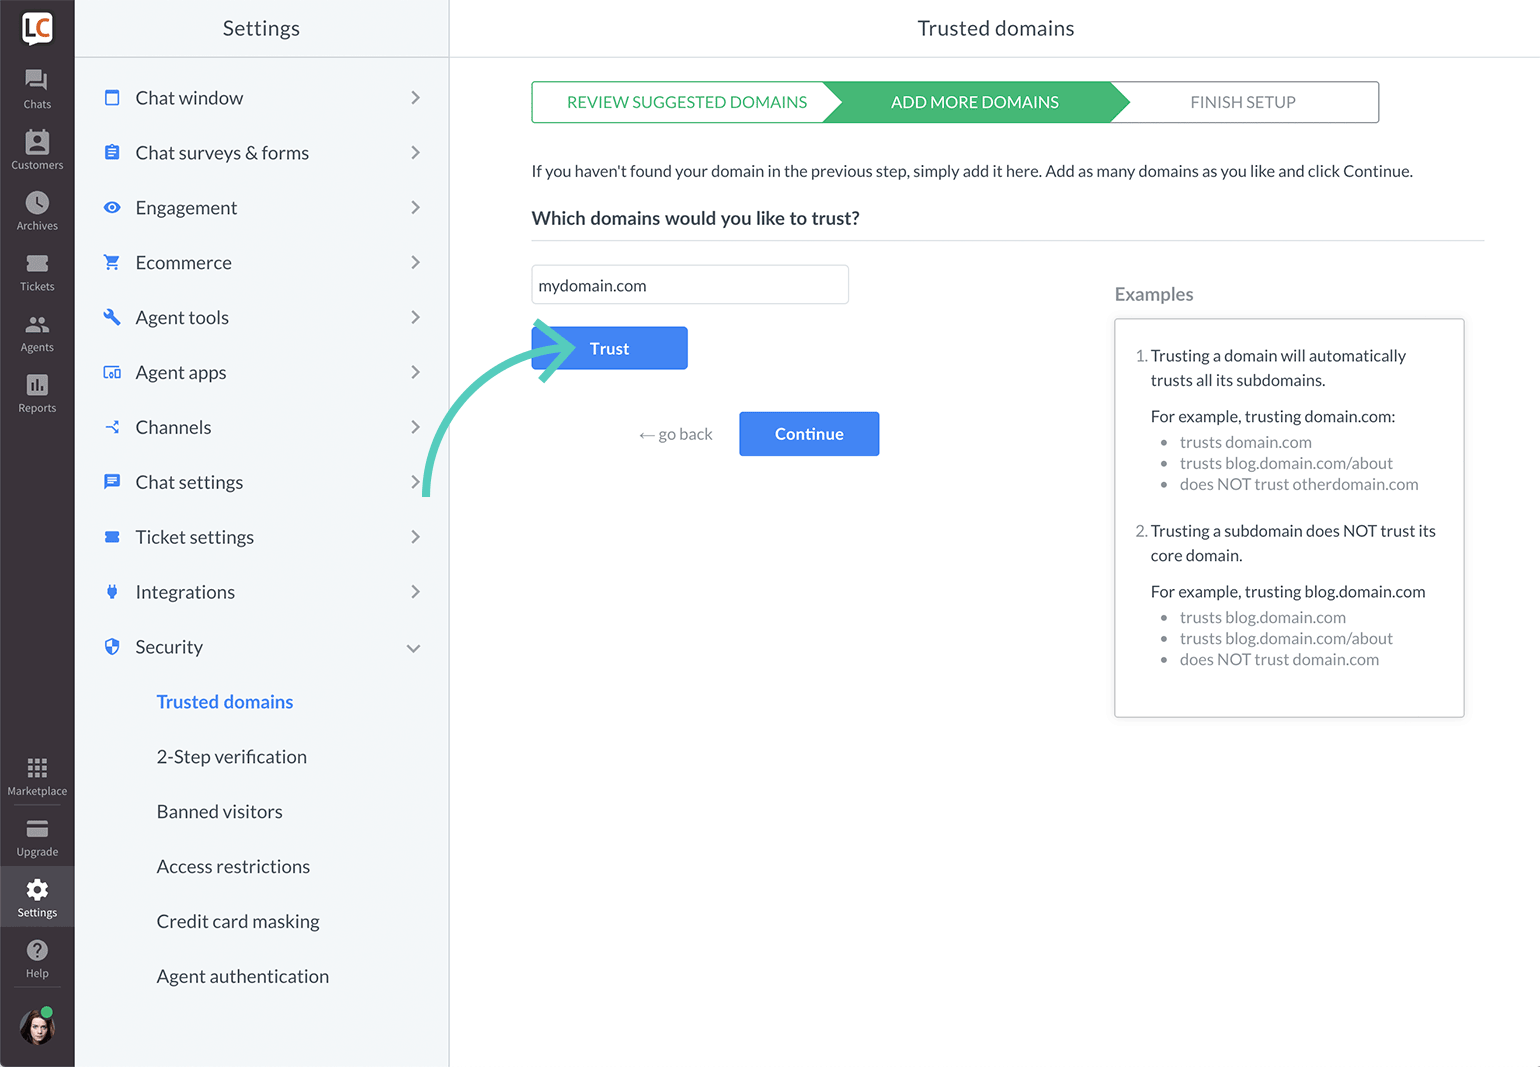
- When you are done, click on Continue to proceed.
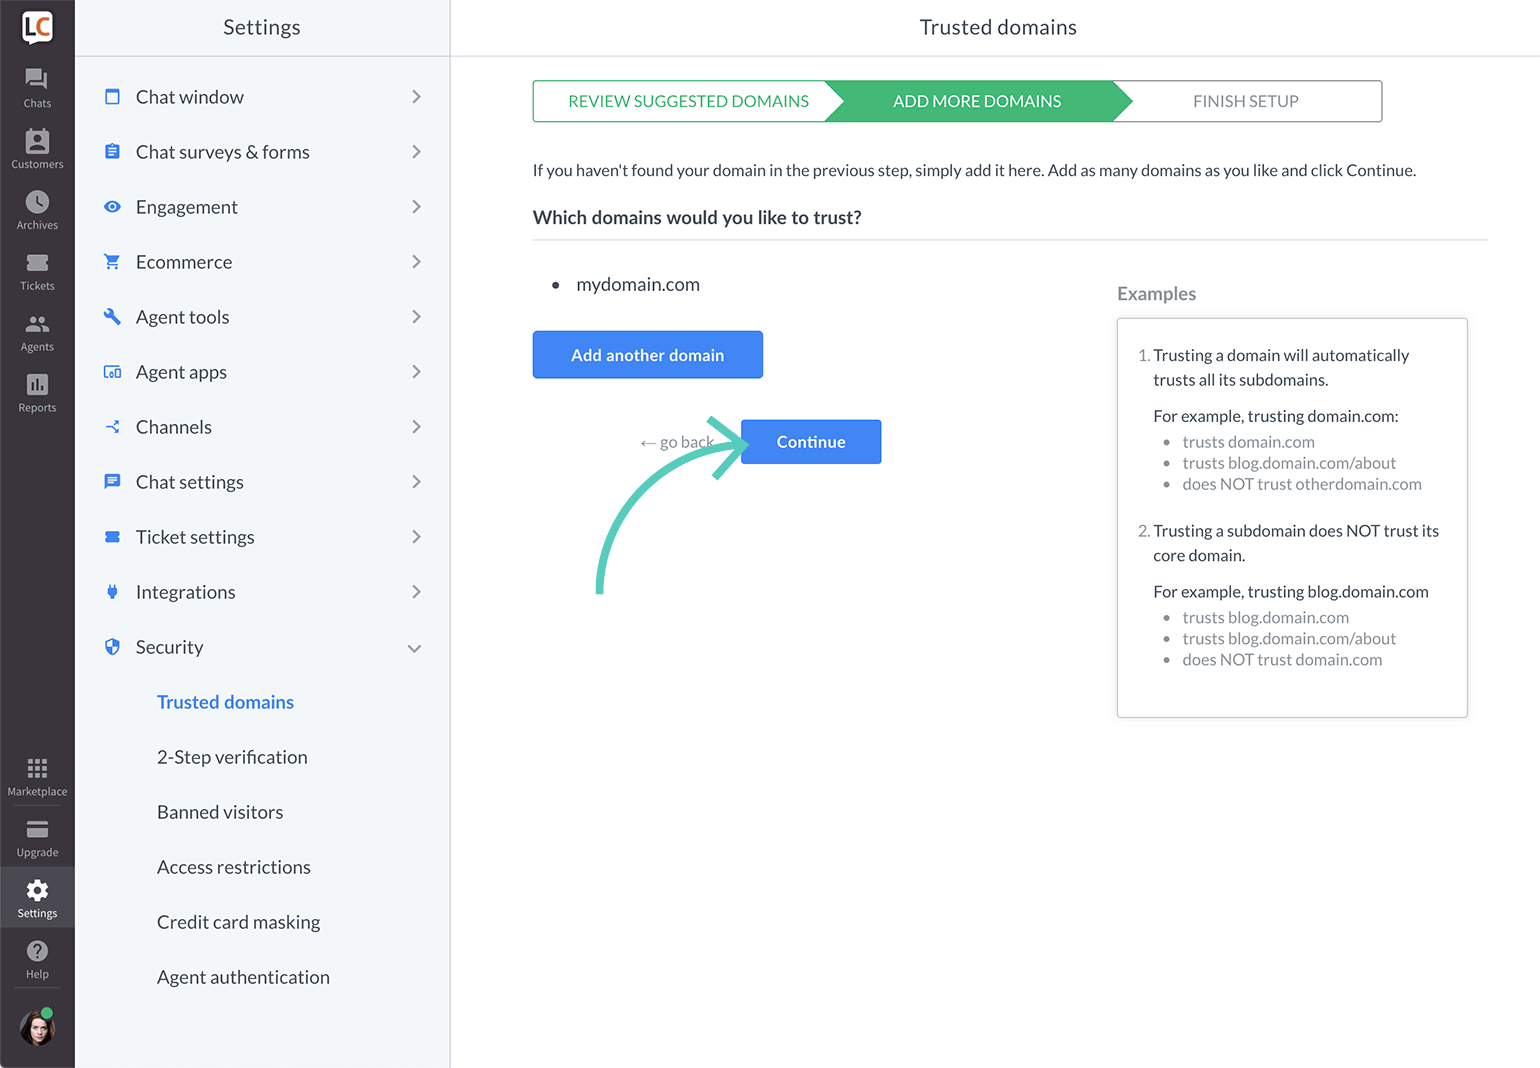
To trust multiple domains, click on Add another domain and repeat steps 4, 5 and 6 for each additional domain.
- Finally, you will see an overview of all domains selected in the previous steps. Check the list for mistakes. If you need to correct anything go back to previous steps. If you are ok with the list, finish the setup by clicking on Enable trusted domains.
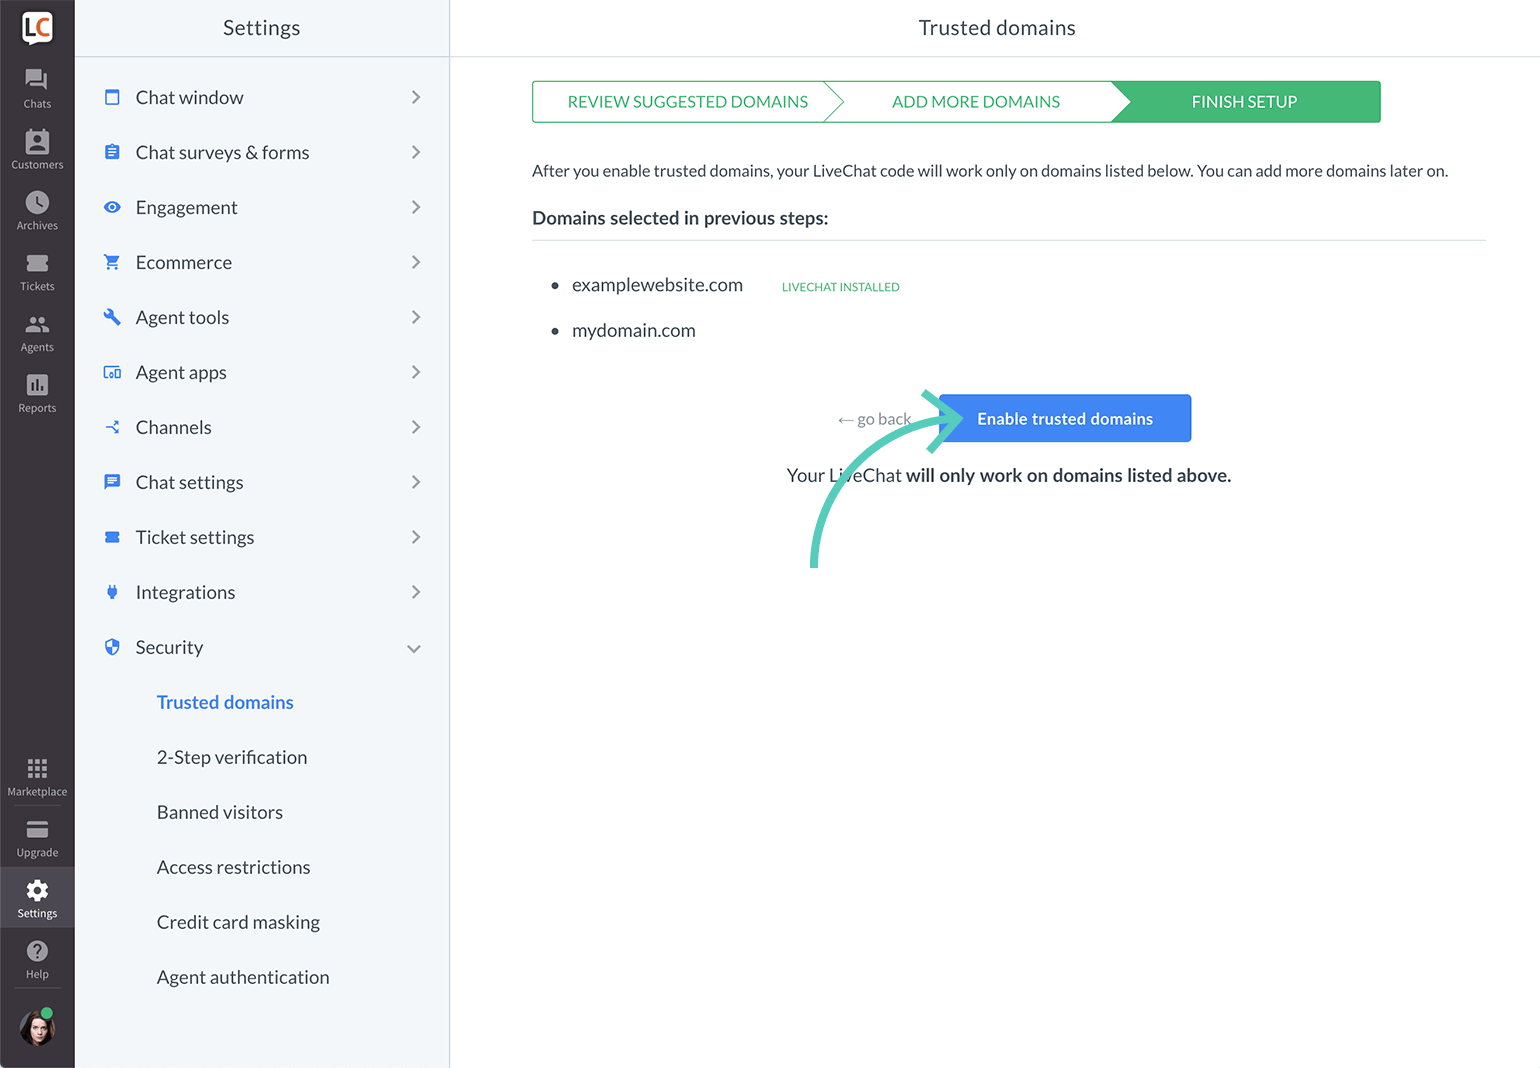
Your LiveChat tracking code is now protected and will only work on your trusted domains.
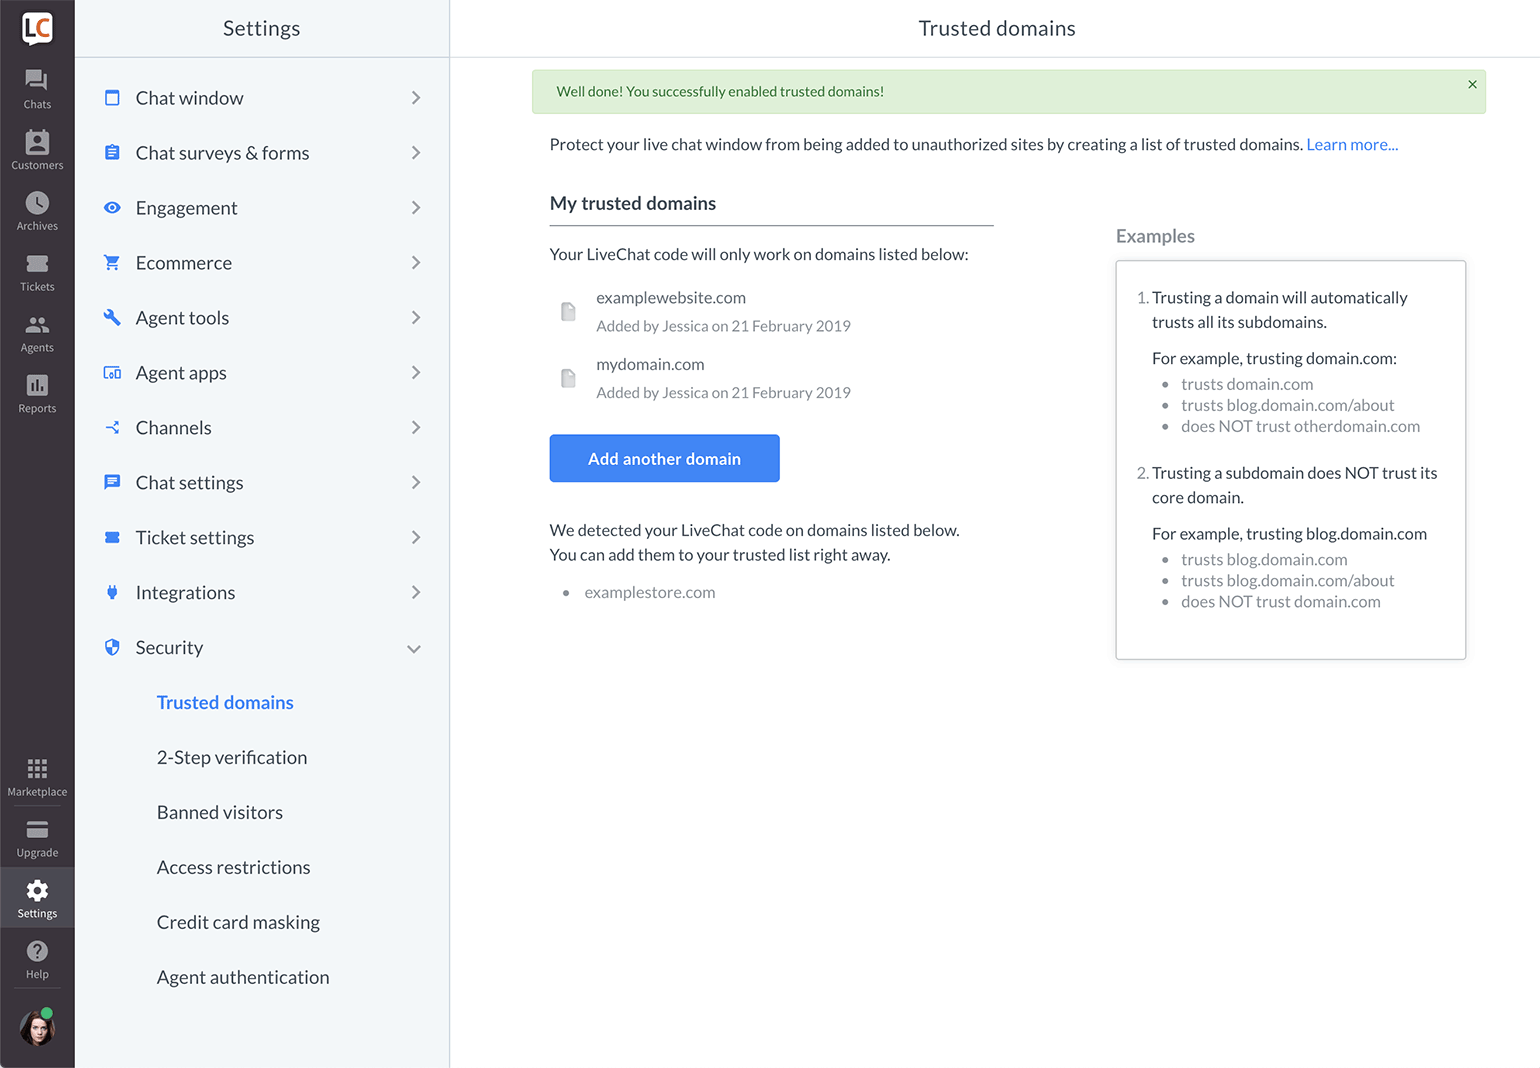
Make sure to update the list whenever you want to install the LiveChat tracking code on a new website because the code won’t work anywhere but your trusted domains.
How to delete a trusted domain
If you need to delete any domain, simply hover your mouse over it and click on delete.
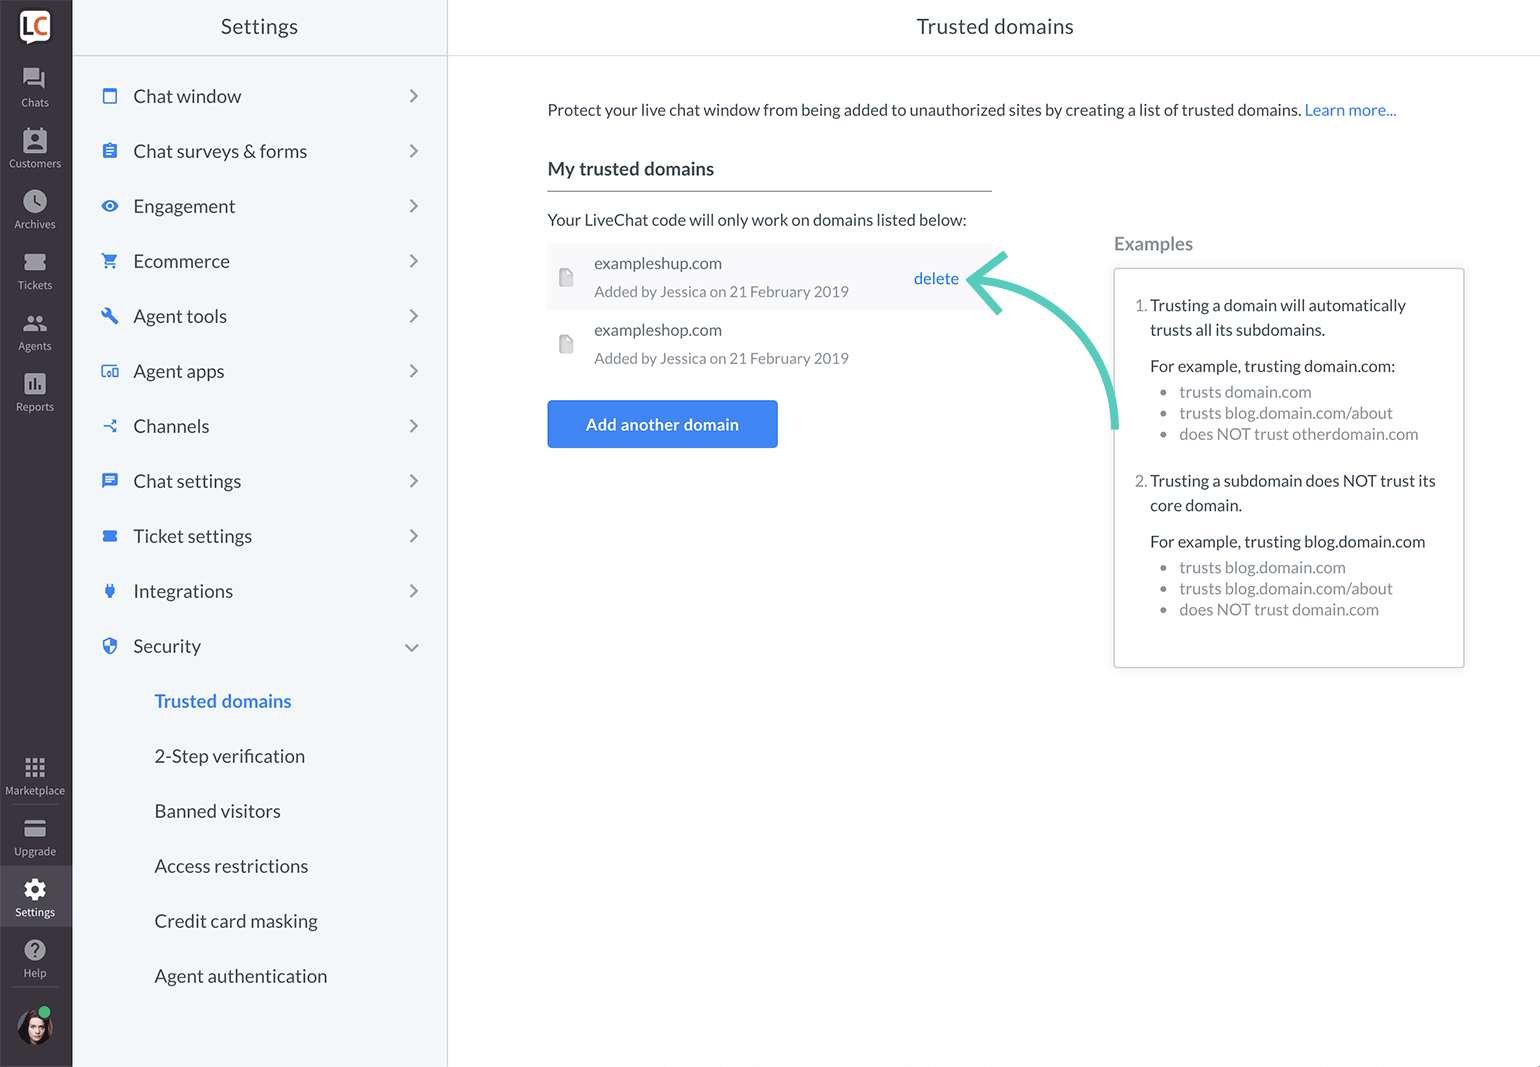
How trusted domains work
Trusting a domain creates a trust relationship between this domain and its subdomains.
Trusting the main domain
If your website has multiple subdomains, you can trust all of them at once by simply adding the main domain to the trusted list.
It’s especially useful if you have several language versions of your website, such as en.example.com for English, es.example.com for Spanish or fr.example.com for French. You don’t have to add each subdomain to your trusted list. It’s enough to trust the core domain example.com to automatically trust all the language versions too.
Trusting only a subdomain
On the other hand, if you trust only one subdomain, it will NOT trust its main domain nor other subdomains of this domain.
For example, if you only trust the English subdomain en.domain.com, it won’t trust domain.com, nor fr.domain.com nor es.domain.com. Adding en.domain.com to the list will, however, automatically trust all subsequent levels of this subdomain, such as blog.en.domain.com or sales.en.domain.com and so on.
Credit card masking
If you want to prevent your customers from sharing their credit card numbers on chat, you can enable the credit card masking feature.
Masking protects customer credit card numbers in both Chats and Archives. It replaces all but the last 4 digits with X characters.
For example, if a customer sends a credit card number on chat, like this one: 3782822464310005, it will be shown as XXXX-XXXX-XXXX-0005 to anyone reading this chat live or in the Archives.
To enable credit card masking:
