Place a live chat function on your WHMCS page in a few minutes and start chatting with clients.
Using this integration, you can:
Installation
Follow these steps to set up LiveChat on your site:
- Log in to your WHMCS admin panel.
- Download the LiveChat addon module and place it in the /modules/addons directory.
- Access the Addon Modules section from the drop-down Setup menu.
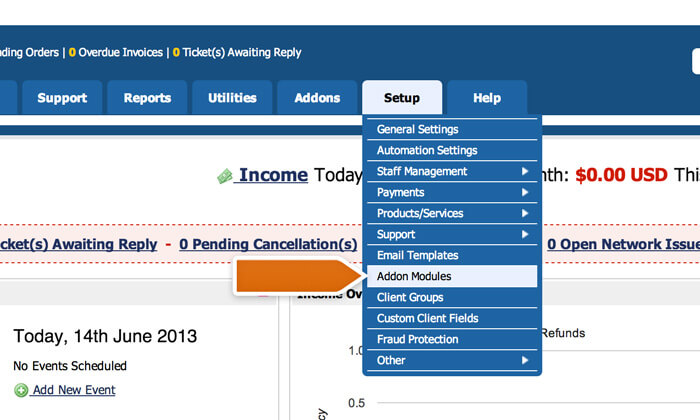
- Find the LiveChat addon on the list and Activate it.

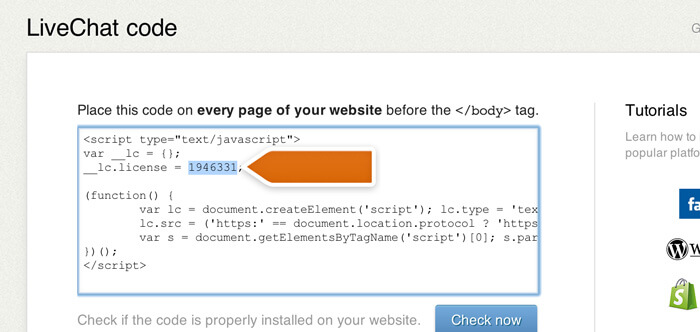
- Next, go to to the LiveChat code section to get your license number.
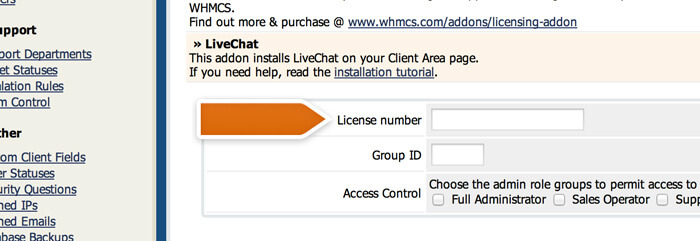
- Type in the license number in LiveChat addon configuration options and select Save changes to finalize.
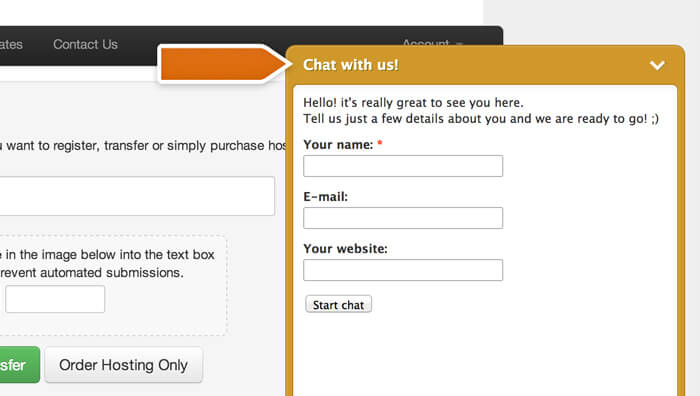
Congratulations! Your website visitors are sure to appreciate the new live chat functionality!
Saving chat transcripts as tickets
Store chat transcripts as tickets in WHMCS to keep your support communication in one place. Enable this function by following these steps:
- Log in to LiveChat and Install the WHMCS integration.
- Proceed by clicking Install.
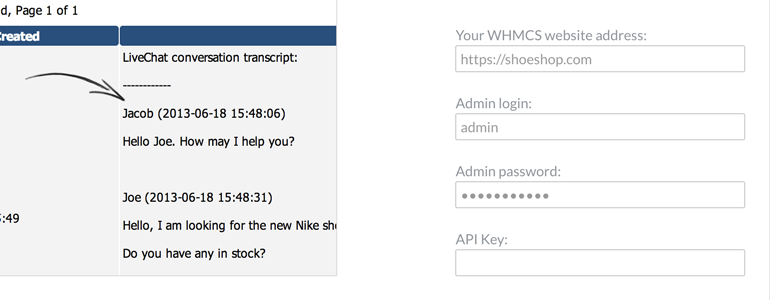
- Provide your WHMCS website address, Admin login, and Admin password.
- Next, log in to WHMCS and go to Setup, Support and then Support departments.
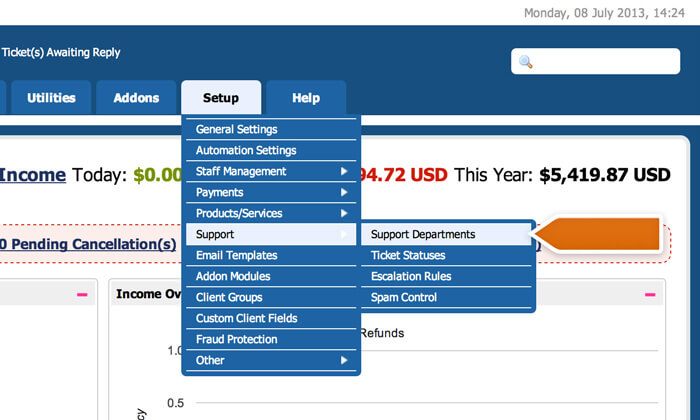
- Choose an existing department or create a new one by selecting Add new department.

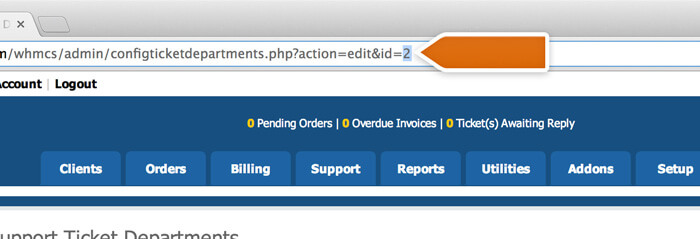
- Copy the Department ID from the end of the page URL and enter it in the integration options.
- Next, create your unique API key by adding the following line to the configuration.php file (replace the “abc123” value with a random string of words and numbers):
$api_access_key = "abc123";
- Enter the newly created API key in WHMCS integration options and click Save changes to finalize.
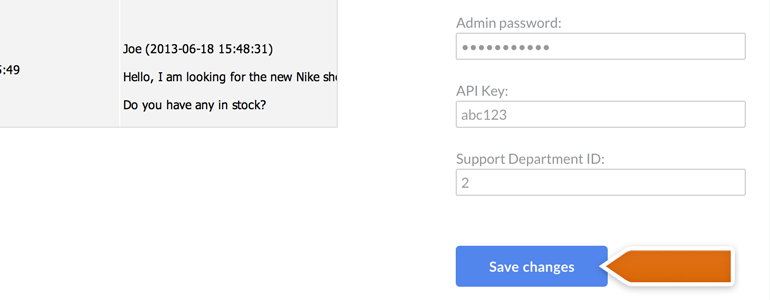
After enabling this feature, all chat transcripts will be forwarded to your WHMCS as closed tickets.